Your first cold plunge at home: how to start safely
Doing it at home removes the studio's supervision along with its cost, which cuts both ways. The setup is the easy part. The rules that keep it safe when nobody else is around are the part worth reading twice.
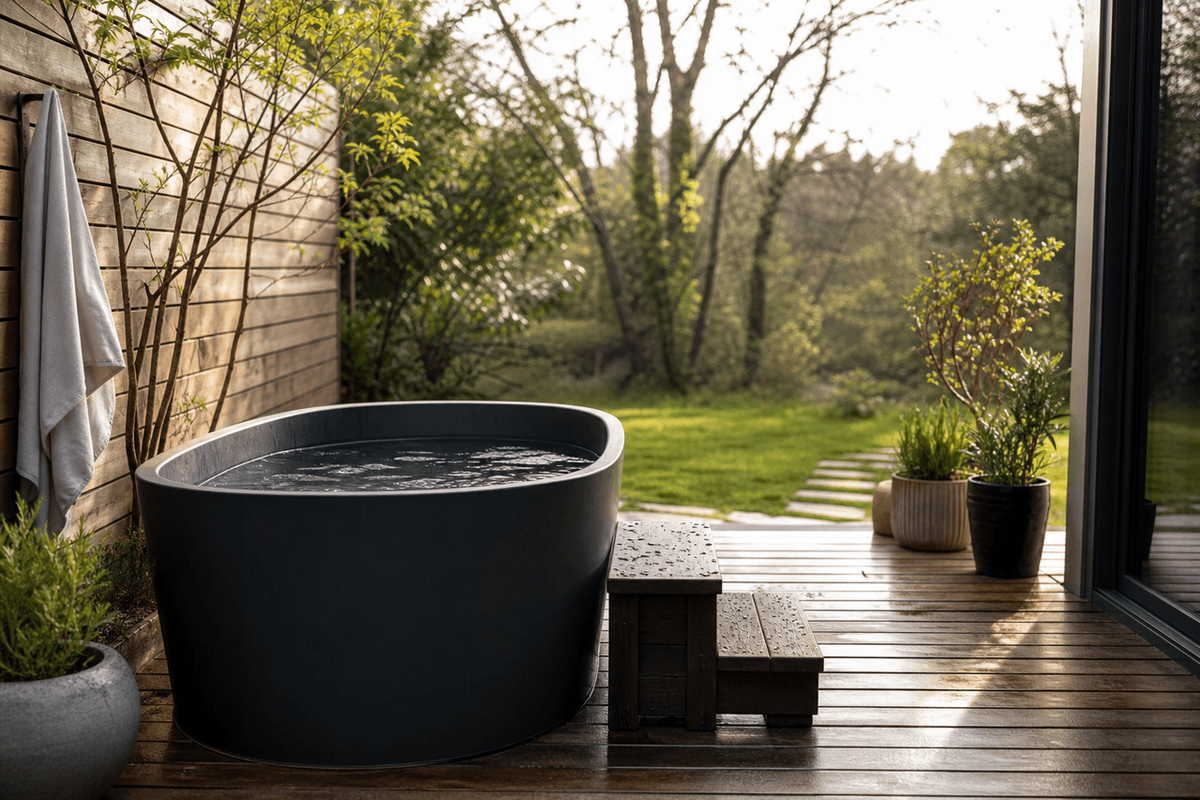
Short answer: Start warmer and shorter than the internet suggests, one to two minutes or less. Never hyperventilate or breath-hold near the water, since that can make you black out; keep breathing practice on dry land. Have someone nearby your first few times, keep the water filtered or changed, and get medical clearance if you are at risk.
Start warmer and shorter than the internet suggests, tell someone or have them nearby your first few times, never do breathing exercises or breath-holds right before you get in, and keep the water clean. At home you lose the studio’s supervision, so you take on the safety yourself, and that is entirely manageable if you respect a few firm rules.
The equipment is the simple part. A dedicated tub, a stock tank, or even a chest freezer conversion all work. What actually matters is how you use it, especially the cold shock and the never-hyperventilate-near-water rules.
Get those right and home cold plunging is safe, cheap over time, and genuinely enjoyable. Get them wrong and the risks are real.
What temperature and time should a beginner start at?
Warmer and shorter than you expect, then build slowly.
You do not need ice-cold water to get the benefit, and starting brutally cold just makes you panic. For a first plunge, water in the cool-but-tolerable range, and a short time of one to two minutes or even less, is plenty. You can go colder and slightly longer as you adapt, but there is no prize for extremes. Our how cold and how long guide covers sensible ranges.
The goal of the first few sessions is to learn to stay calm in the cold, not to endure the most punishing version possible. Colder and longer is not proportionally better, and it raises the risk.
Get in, stay calm, breathe slowly, and get out while you still feel in control. Build from there over weeks, not in one heroic first attempt.
What is the single most important safety rule?
Never hyperventilate or hold your breath before or in the water.
This is the rule that has genuinely killed people, so it is worth stating plainly. Do not do Wim Hof style rapid breathing or breath-holds right before getting into cold water. Hyperventilating before immersion can cause you to black out with no warning, and blacking out in water means drowning, even in a shallow tub. Our breathwork safety guide covers the mechanism.
Keep any breathing practice completely separate from the water, finished, on dry land, before you go near the plunge. In the water, the aim is slow, calm, controlled breathing to ride out the cold shock, which is the opposite of hyperventilating. Our how to breathe during a cold plunge guide covers that.
The first gasp when you hit cold water is the cold shock response, and staying calm through it is the whole skill. Never plunge somewhere you could go under if you did lose control.
Why should you not do it alone at first?
Because the risky moments are sudden, and help matters.
The cold shock response spikes your heart rate and blood pressure in the first seconds, and it is the moment when a cardiac event or a loss of control is most likely. Having someone present, or at least aware and nearby, your first several times means help is available if something goes wrong.
Even once experienced, many people keep to a simple rule: do not do a full cold plunge completely alone in a way where blacking out would be dangerous. At minimum, tell someone you are about to do it.
This is not fearmongering, it is the same logic as not swimming alone. The odds are low and the cost of being wrong is high, so you tilt it in your favour.
How do you keep the water clean?
Filtration, sanitation, or regular changes, because cold does not sterilise.
Cold water is not clean water. A tub of still cold water grows bacteria just like any standing water, and you are getting in it repeatedly. You need a plan: a proper filtration and sanitation system, ozone or a sanitiser, or simply changing the water regularly if it is a basic setup.
Rinsing off before you get in, keeping the tub covered when not in use, and not sharing dirty water all help a lot. If the water looks cloudy or smells off, change it. Our studio checklist covers the same hygiene questions you would ask a commercial studio, now applied to your own tub.
A chest-freezer conversion or a plain tub with no filtration especially needs frequent water changes. Neglecting this is how a nice habit becomes a skin-infection risk.
Who should not cold plunge at home, and what setup works?
Check with a doctor if at risk, and keep the setup simple and safe.
Do not start home cold plunging without medical clearance if you have a heart condition, high or unstable blood pressure, are pregnant, or have another condition affected by cold. The cold shock is a real cardiovascular stressor, and at home there is no one screening you. Our cold plunge safety guide covers who should be cautious, and our pregnancy guide covers that specific case.
On equipment, options range from a purpose-built plunge with a chiller and filtration, to a stock tank with ice, to a chest-freezer conversion. Whatever you choose, make sure you can get in and out safely without slipping, the water is kept clean, and you are never in a position where losing consciousness would be fatal. Our home cost guide covers the money side of building a setup.
Simple and safe beats elaborate. A basic tub used with good habits is better than a fancy one used carelessly.
The bottom line on home cold plunging
Start warmer and shorter than you think, never hyperventilate or breath-hold near the water, do not do it alone your first times, keep the water clean, and get medical clearance if you are at any risk.
The home setup is the easy, fun part. The safety habits are what actually matter, and they are simple to follow once you take them seriously.
To find a studio to try cold plunging before you build at home, start with our city wellness maps.